
Tip 01
Measure before you buy.
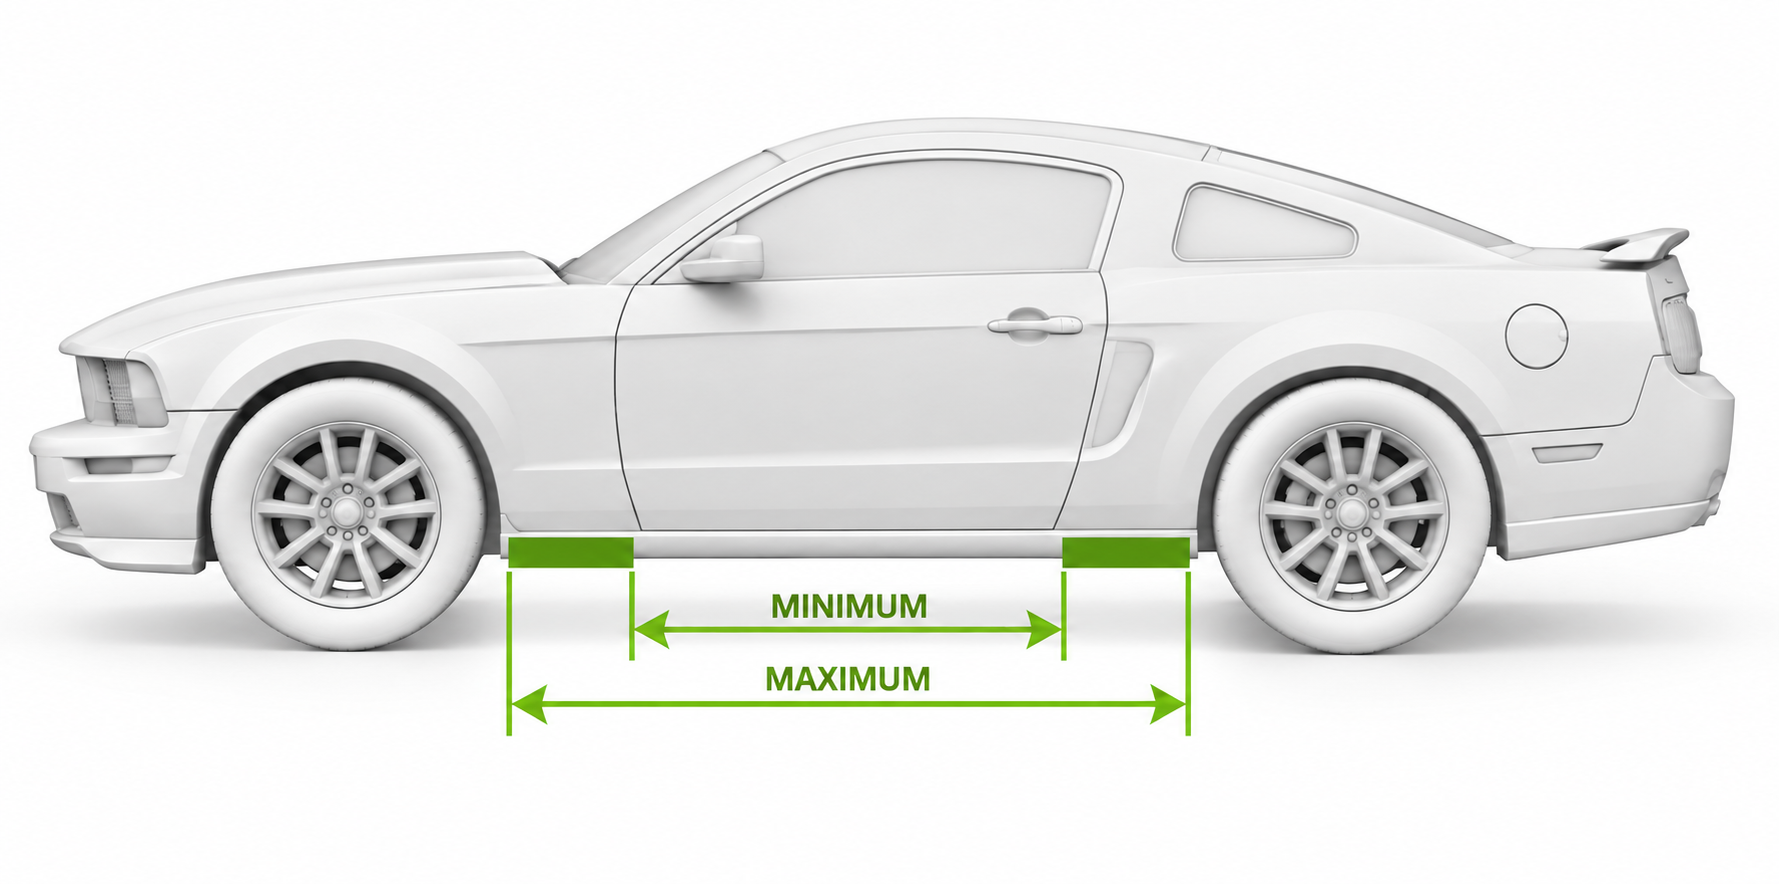
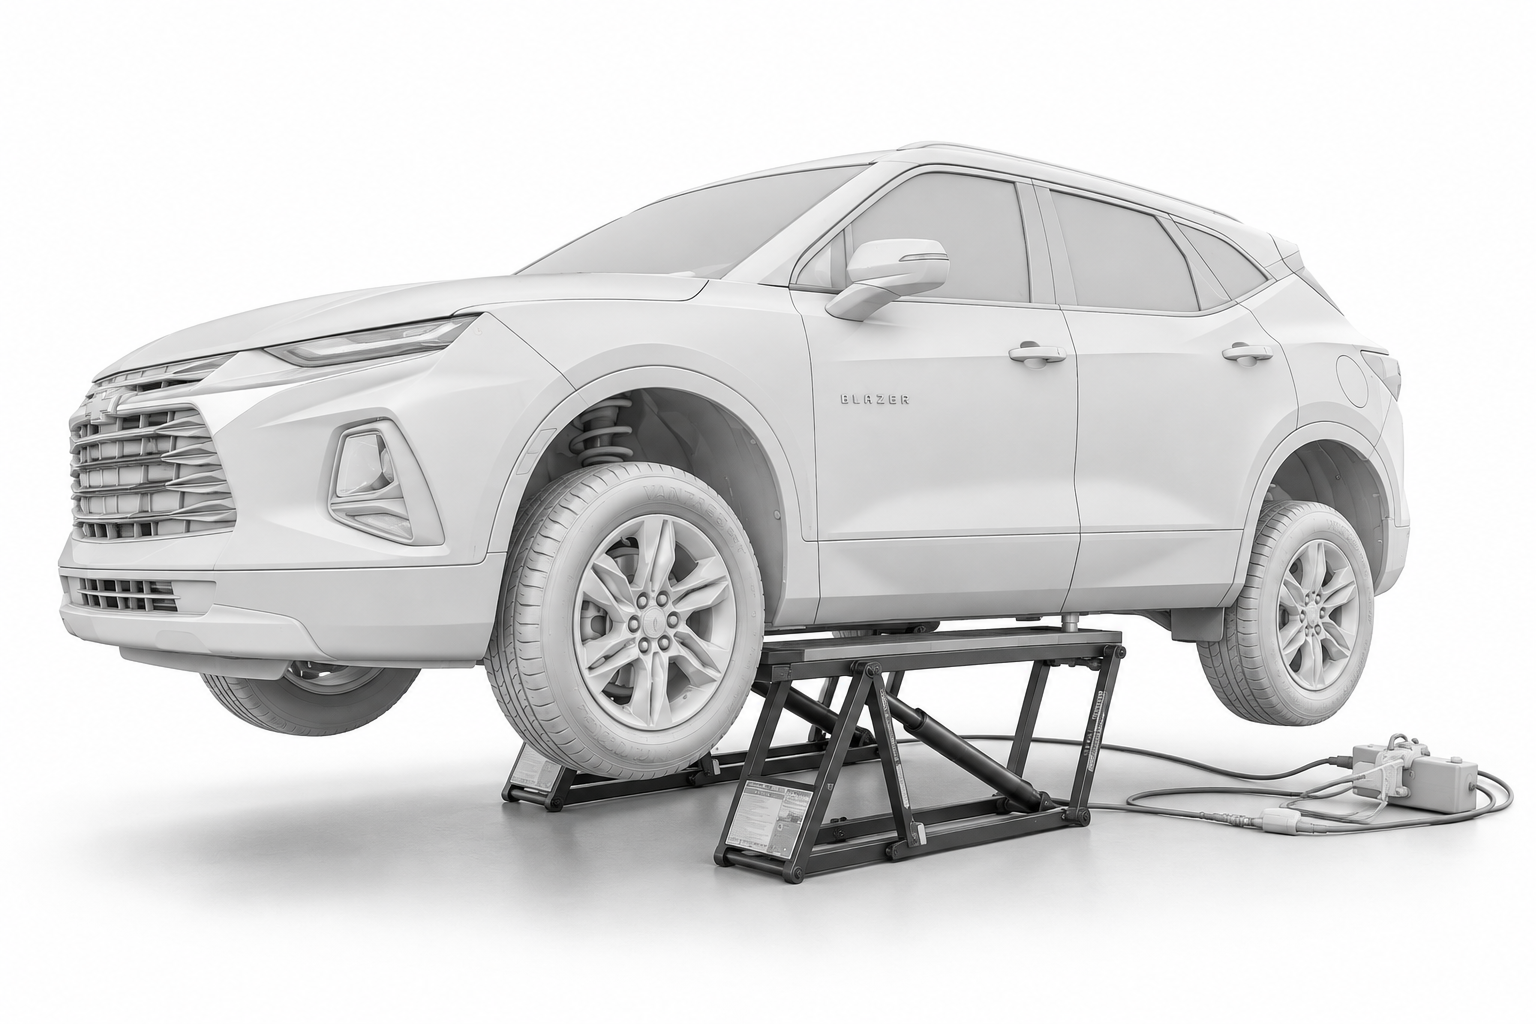
Vehicle weight isn't the only measurement that matters. Check your lifting-point spread and ground clearance too.
From choosing the right model to positioning your frames, using the locks and keeping your setup ready for the next job - these are the QuickJack basics worth knowing.
Vehicle weight isn't the only measurement that matters. Check your lifting-point spread and ground clearance too.
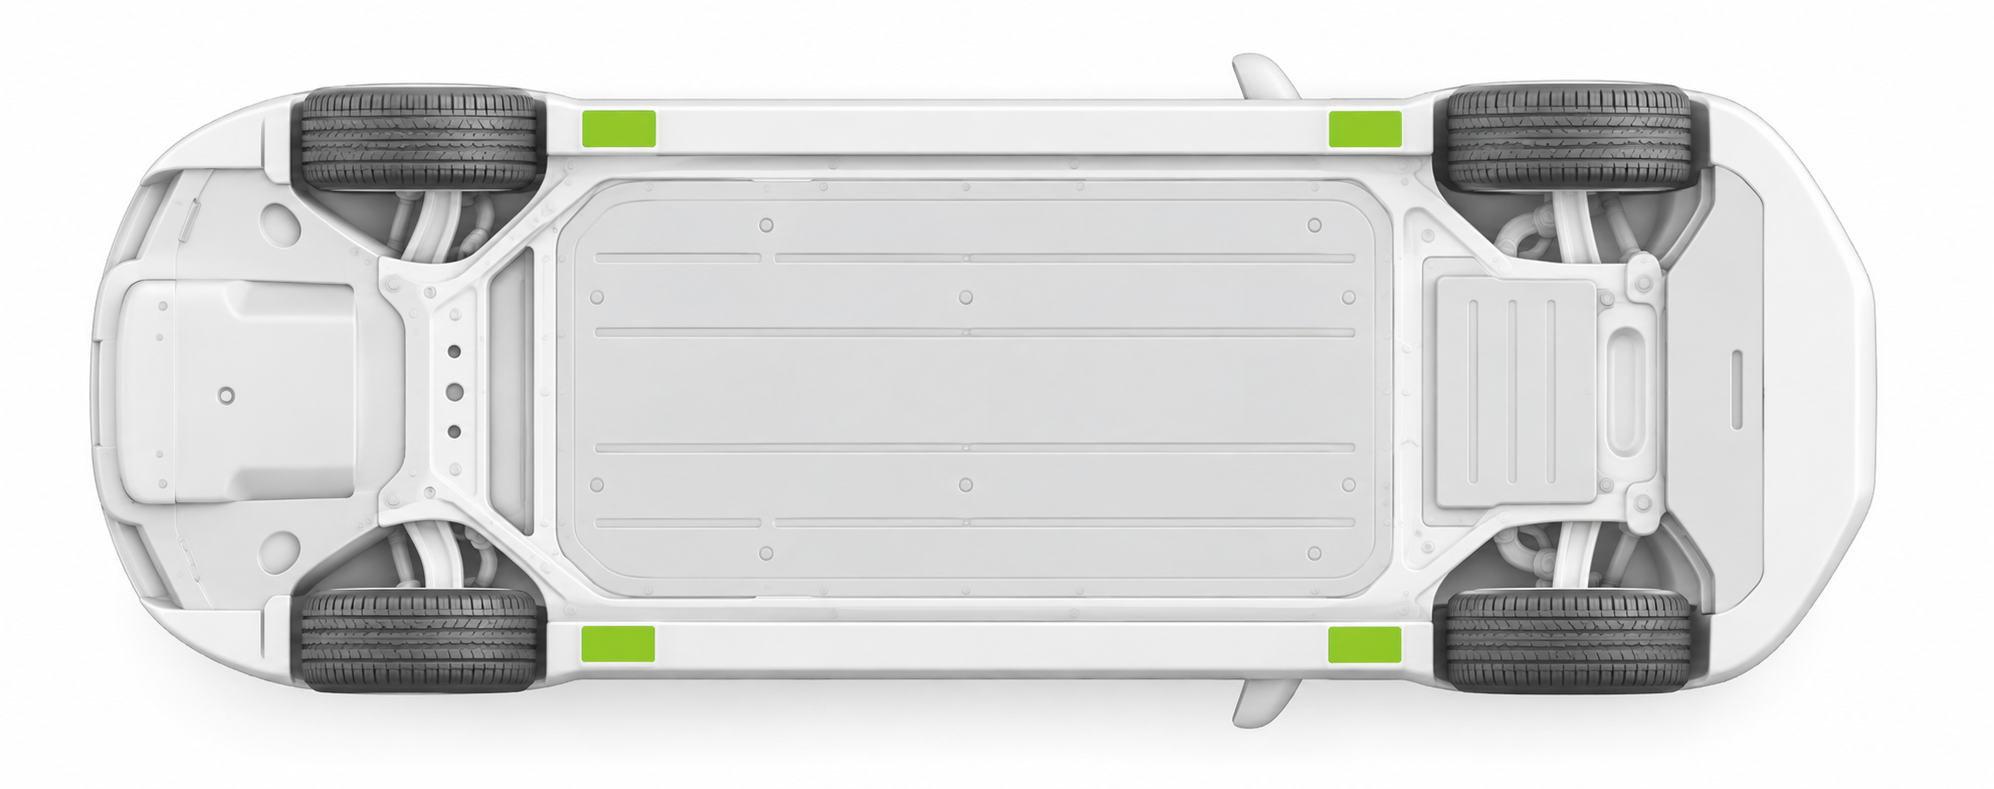
Position your lift blocks beneath the lifting points recommended by your vehicle manufacturer.
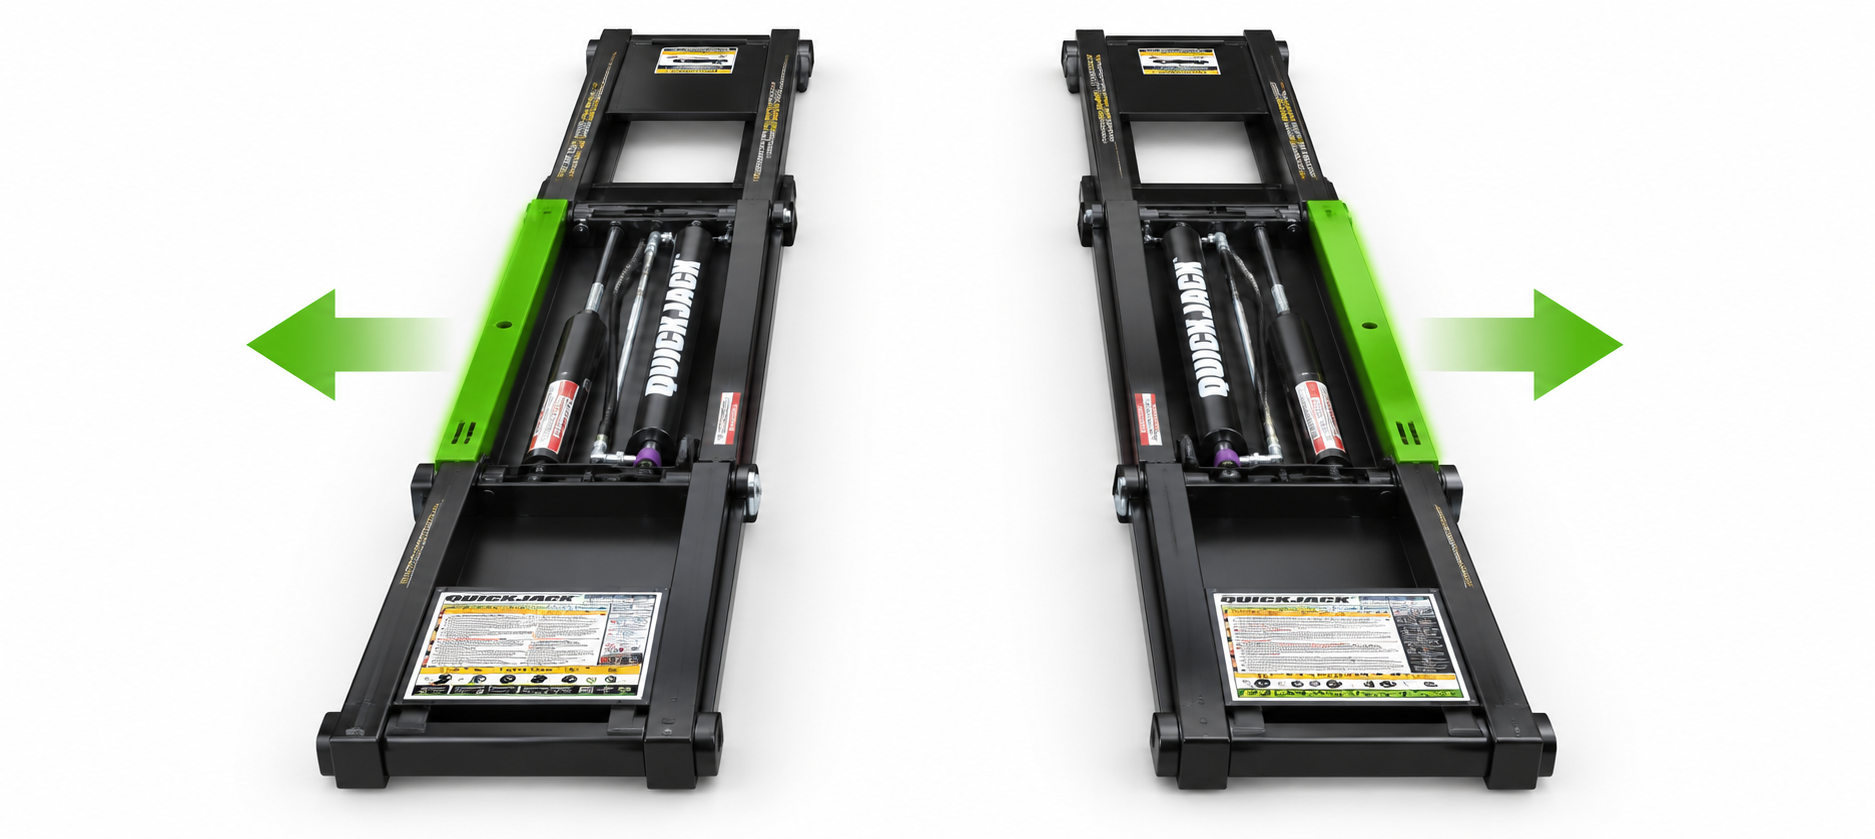
Position both frames so the lock bars are accessible from the outside of the vehicle.
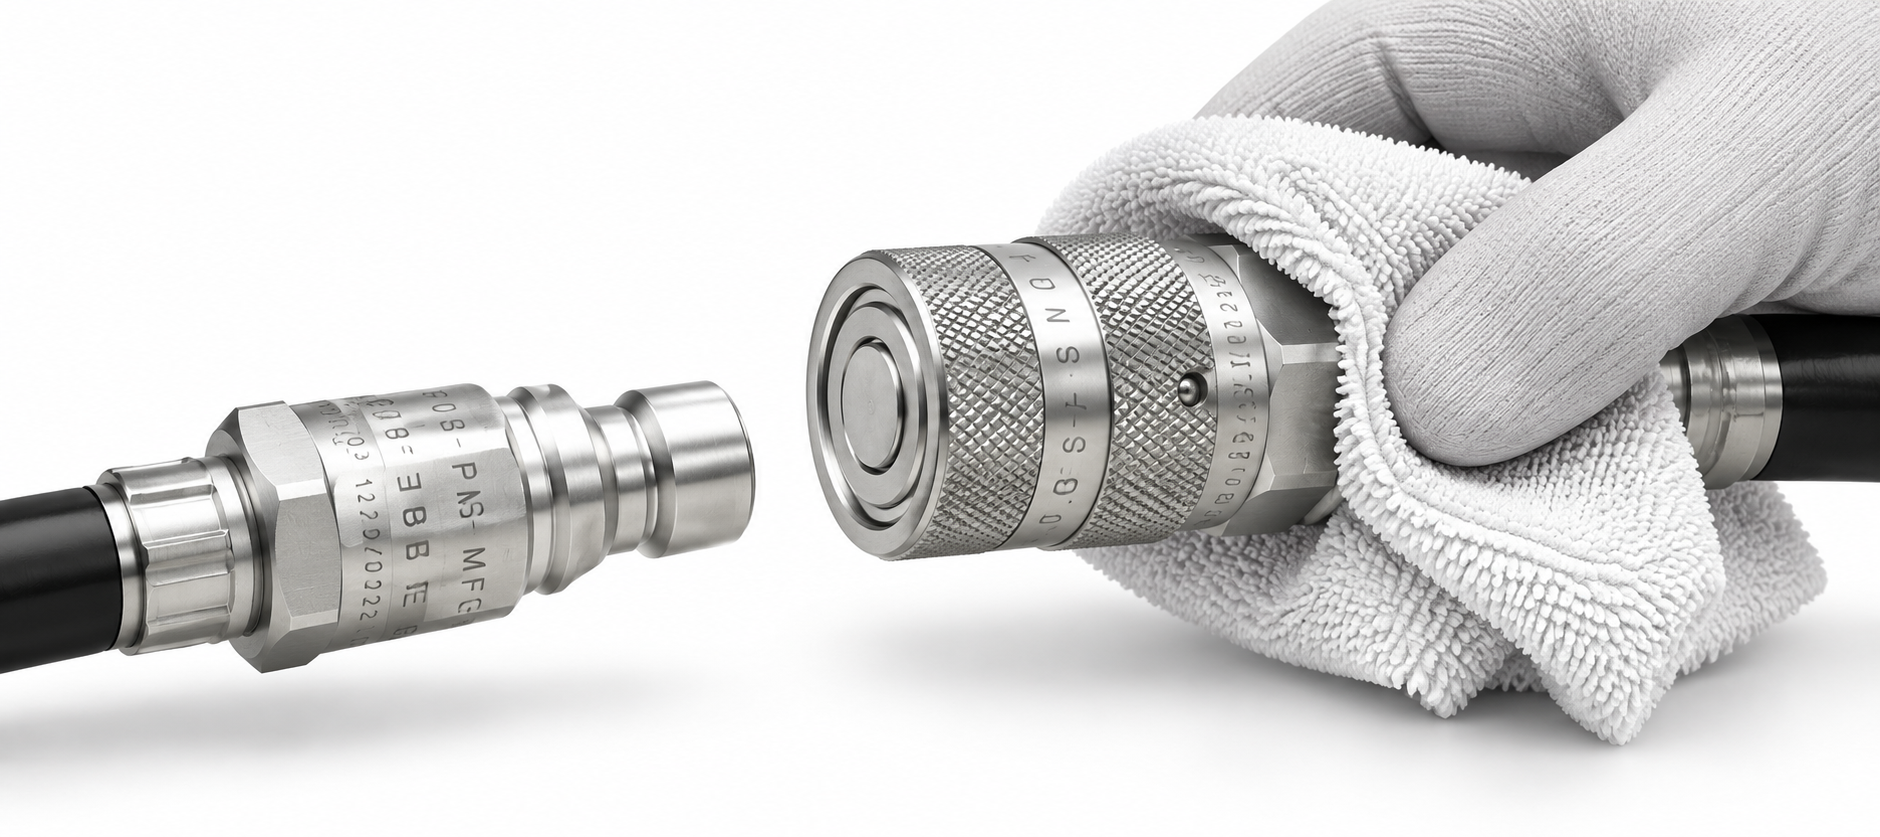
Wipe the hydraulic quick-connect fittings clean and lubricate them before use.
Keep tires away from hydraulic hoses, fittings, the power unit and the QuickJack frames.
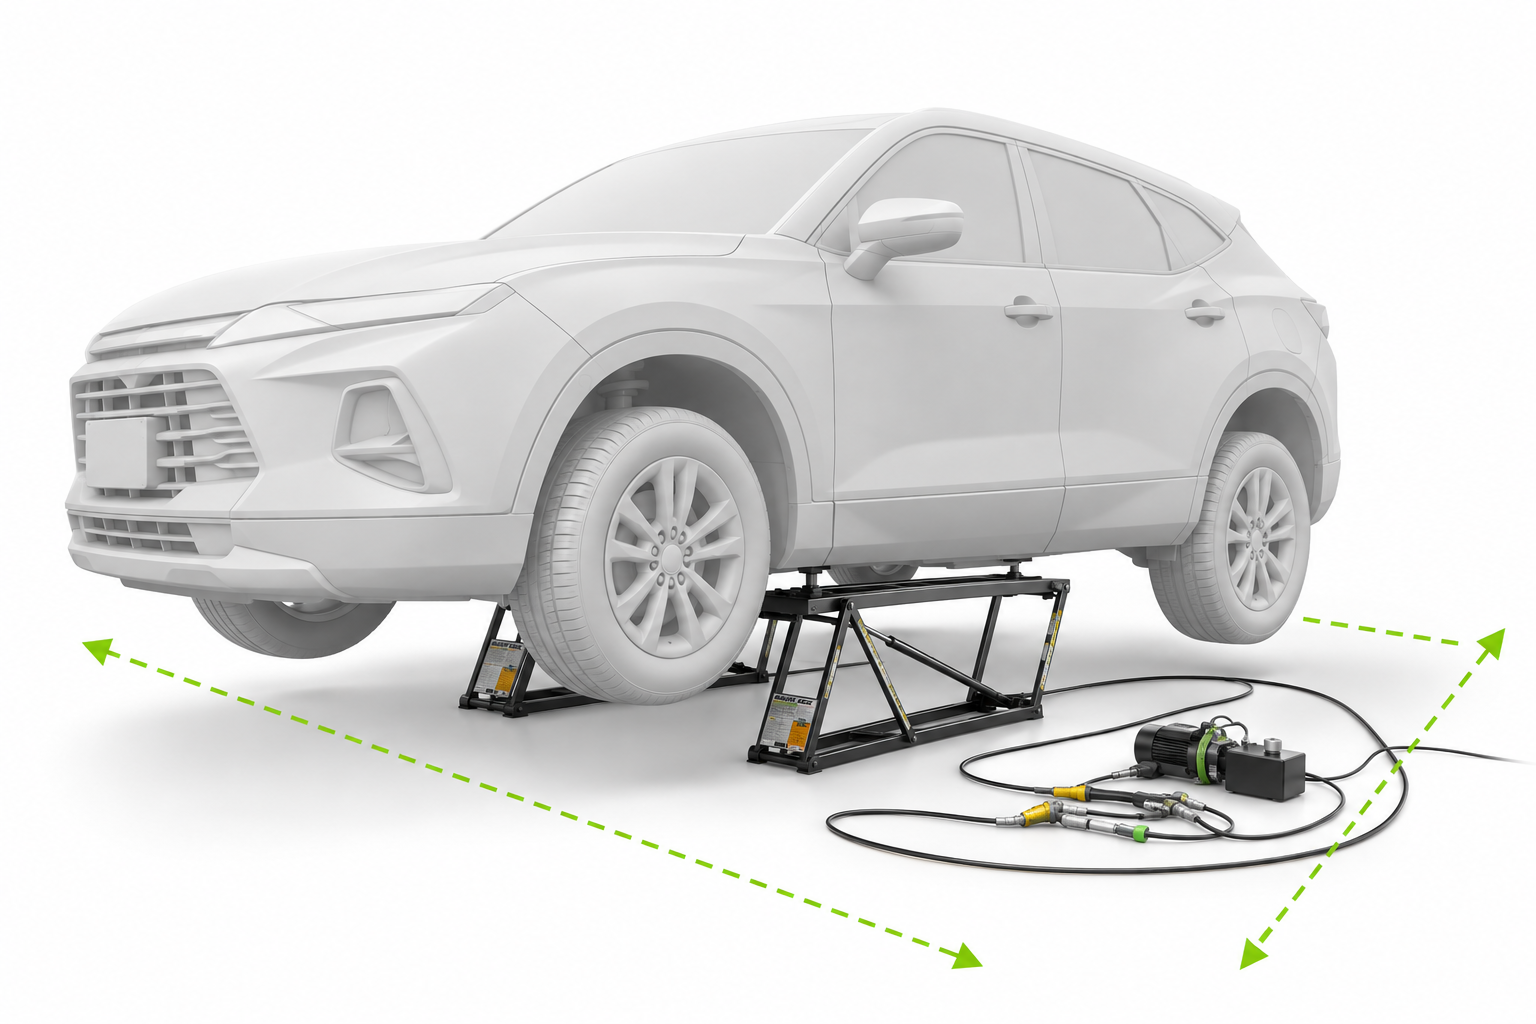
Stand where you have a clear view of both frames whenever you're raising or lowering the vehicle.
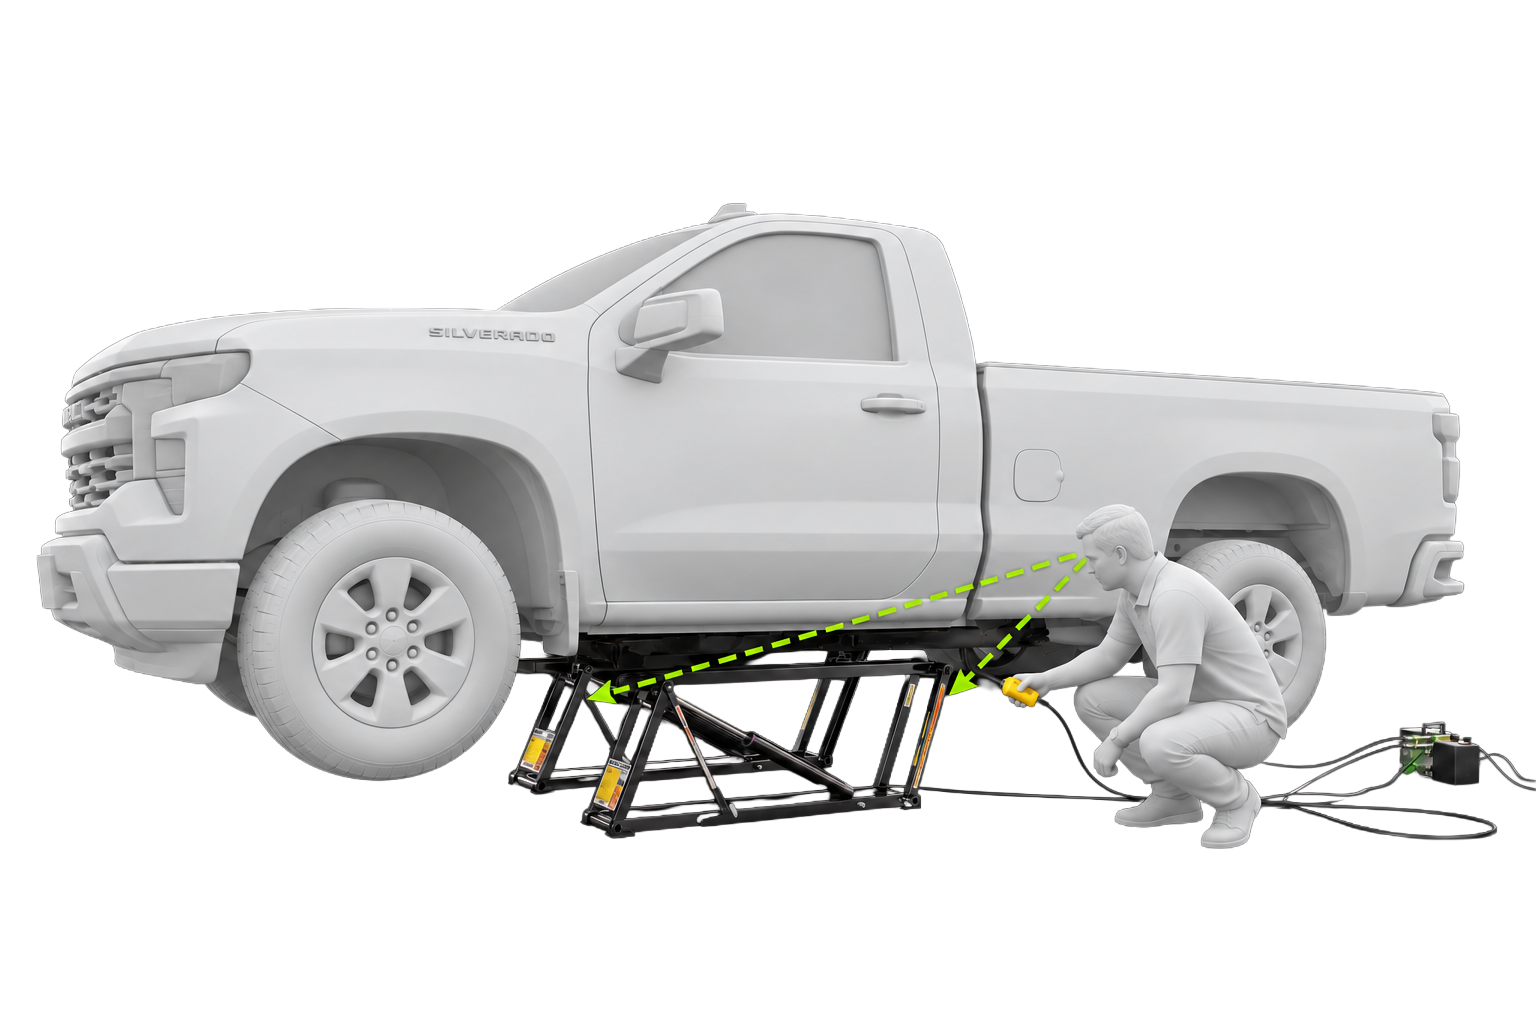
Lift using the appropriate QuickJack blocks or adapters—not directly on the bare frames.
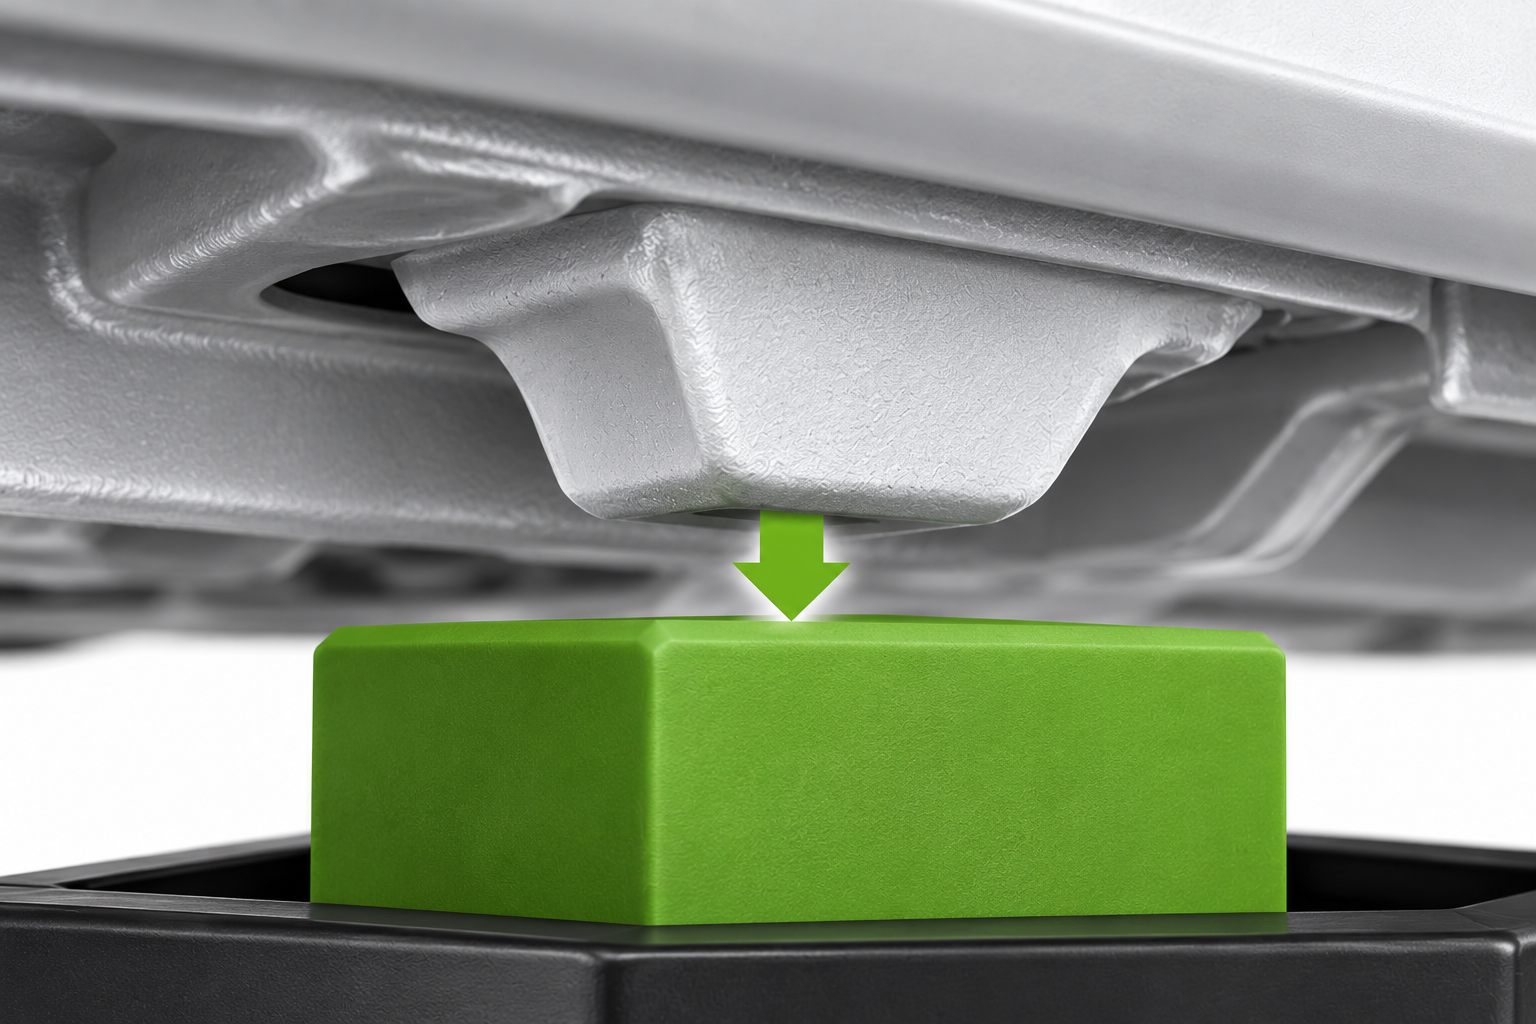
QuickJack's lifting geometry creates horizontal movement as the vehicle rises. Leave clearance around it.
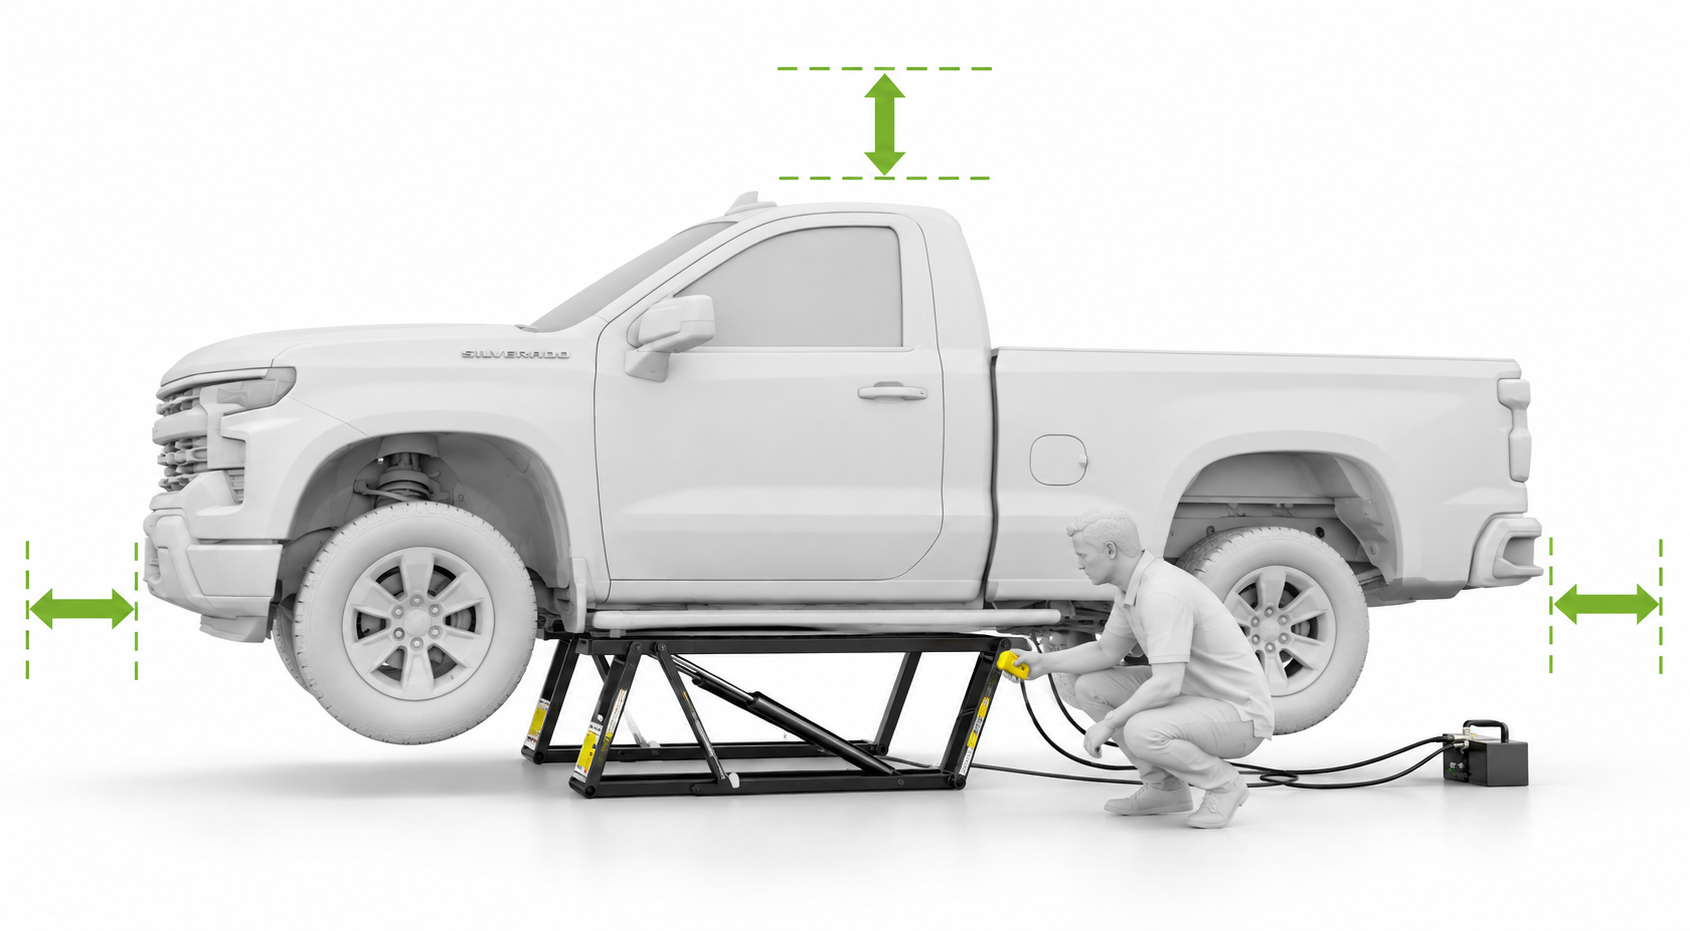
QuickJack is designed to rise with vehicle weight on the frames.
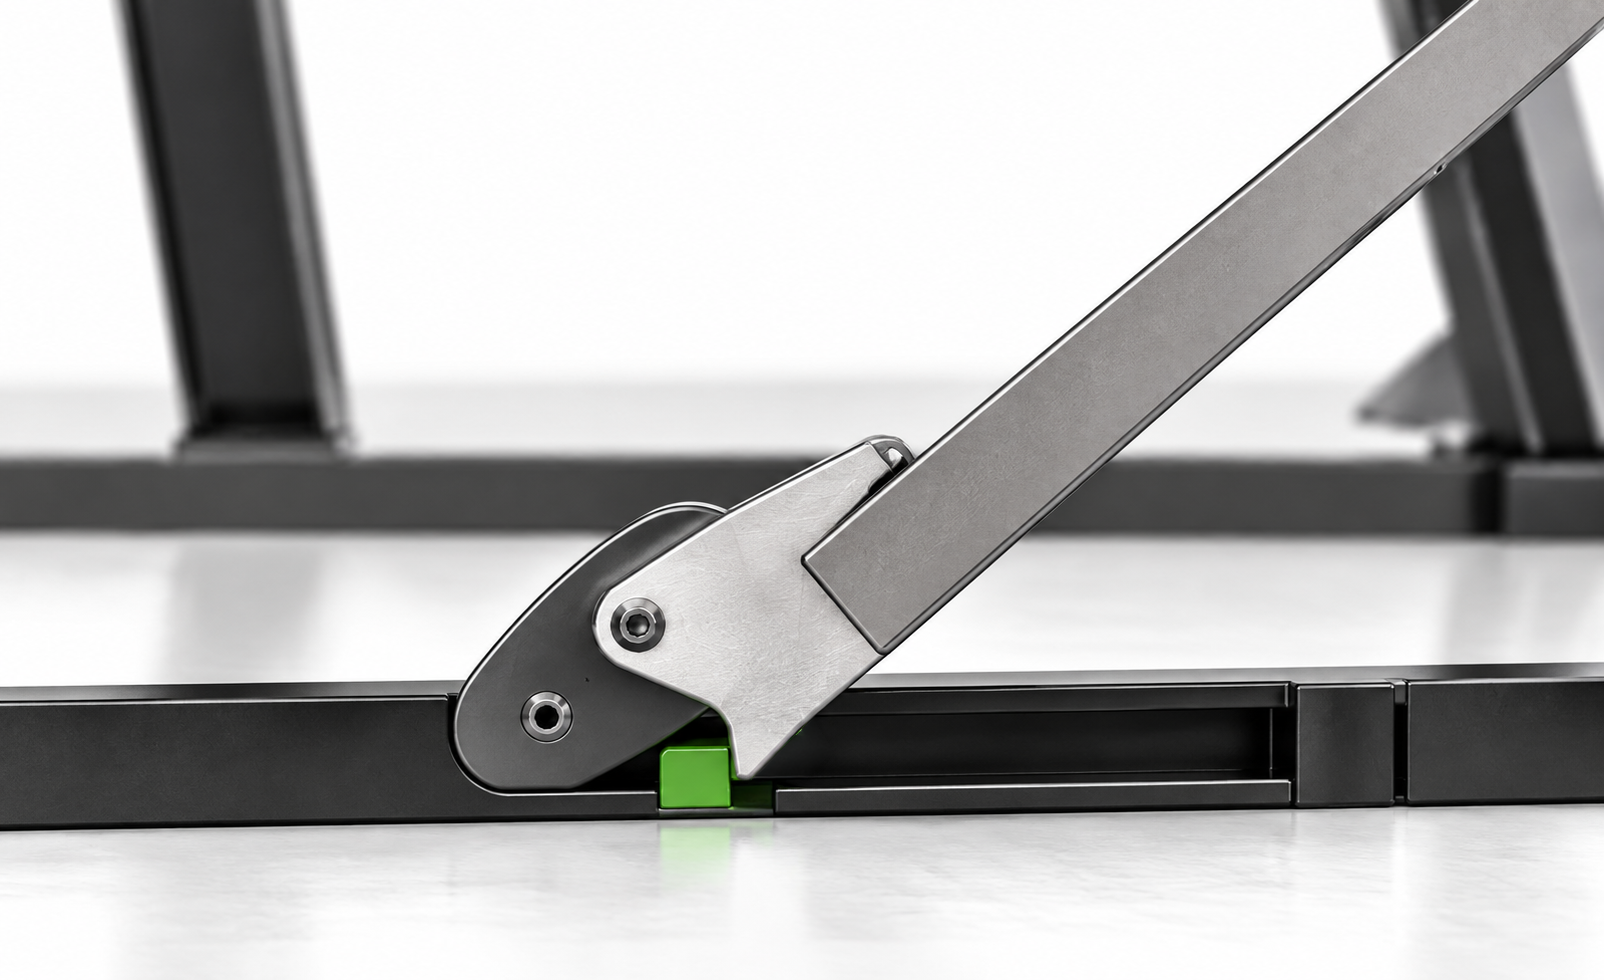
A raised vehicle should be supported on a mechanical locking position - not hydraulic pressure alone.
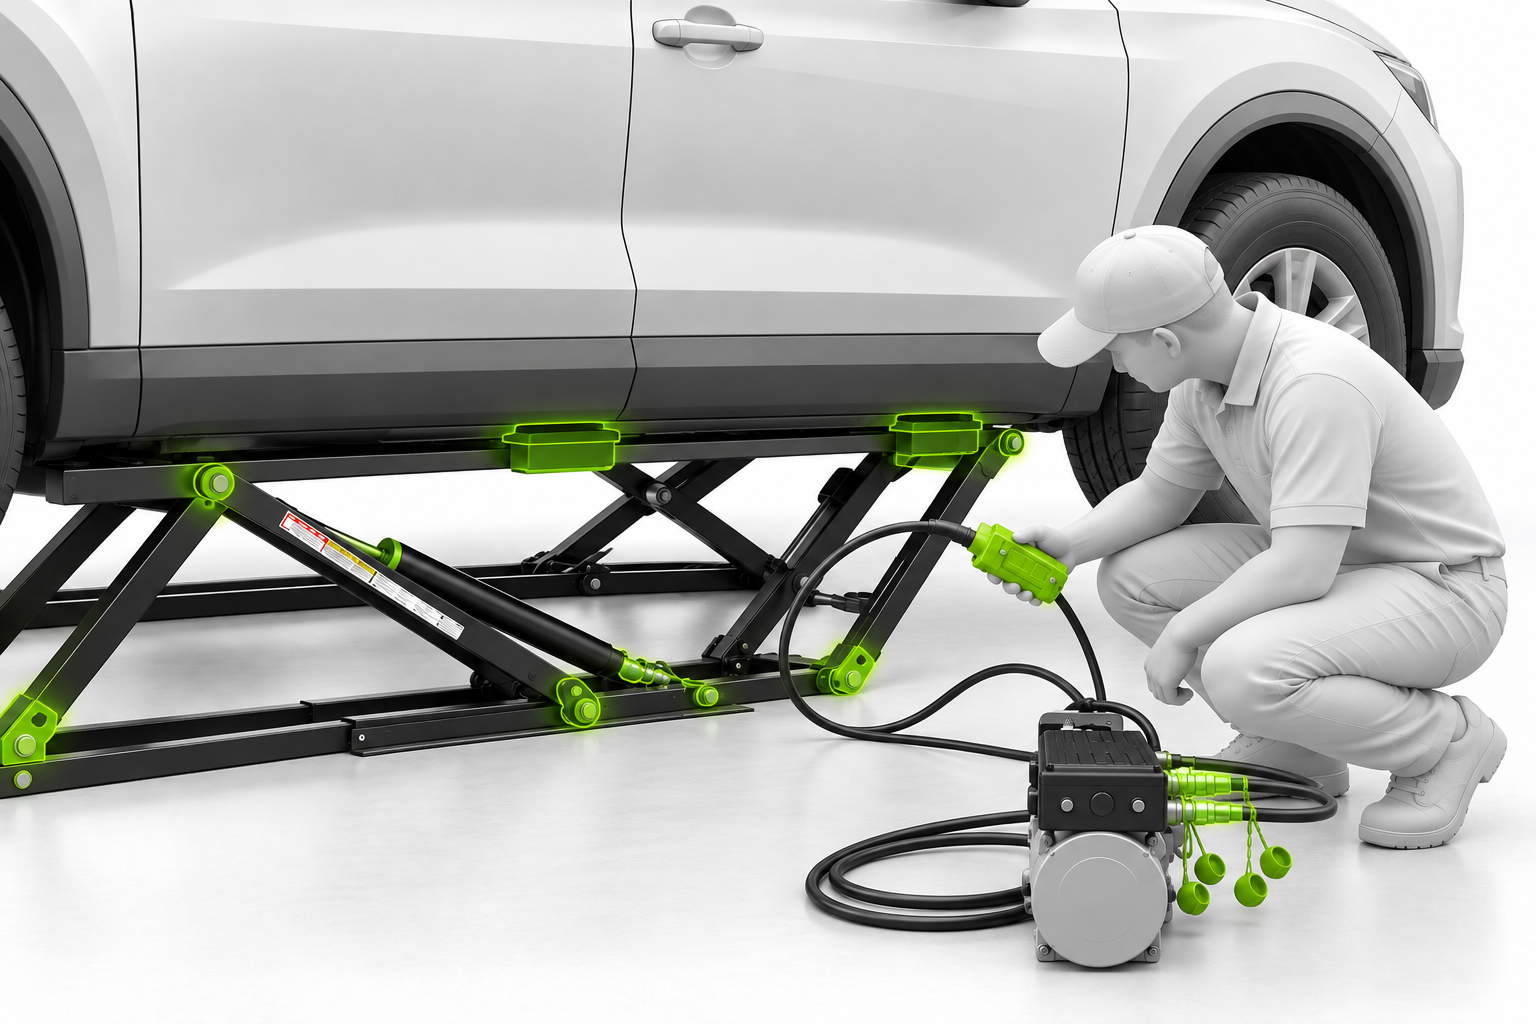
Take a quick look at the frames, blocks, hoses, fittings and locks before each use.
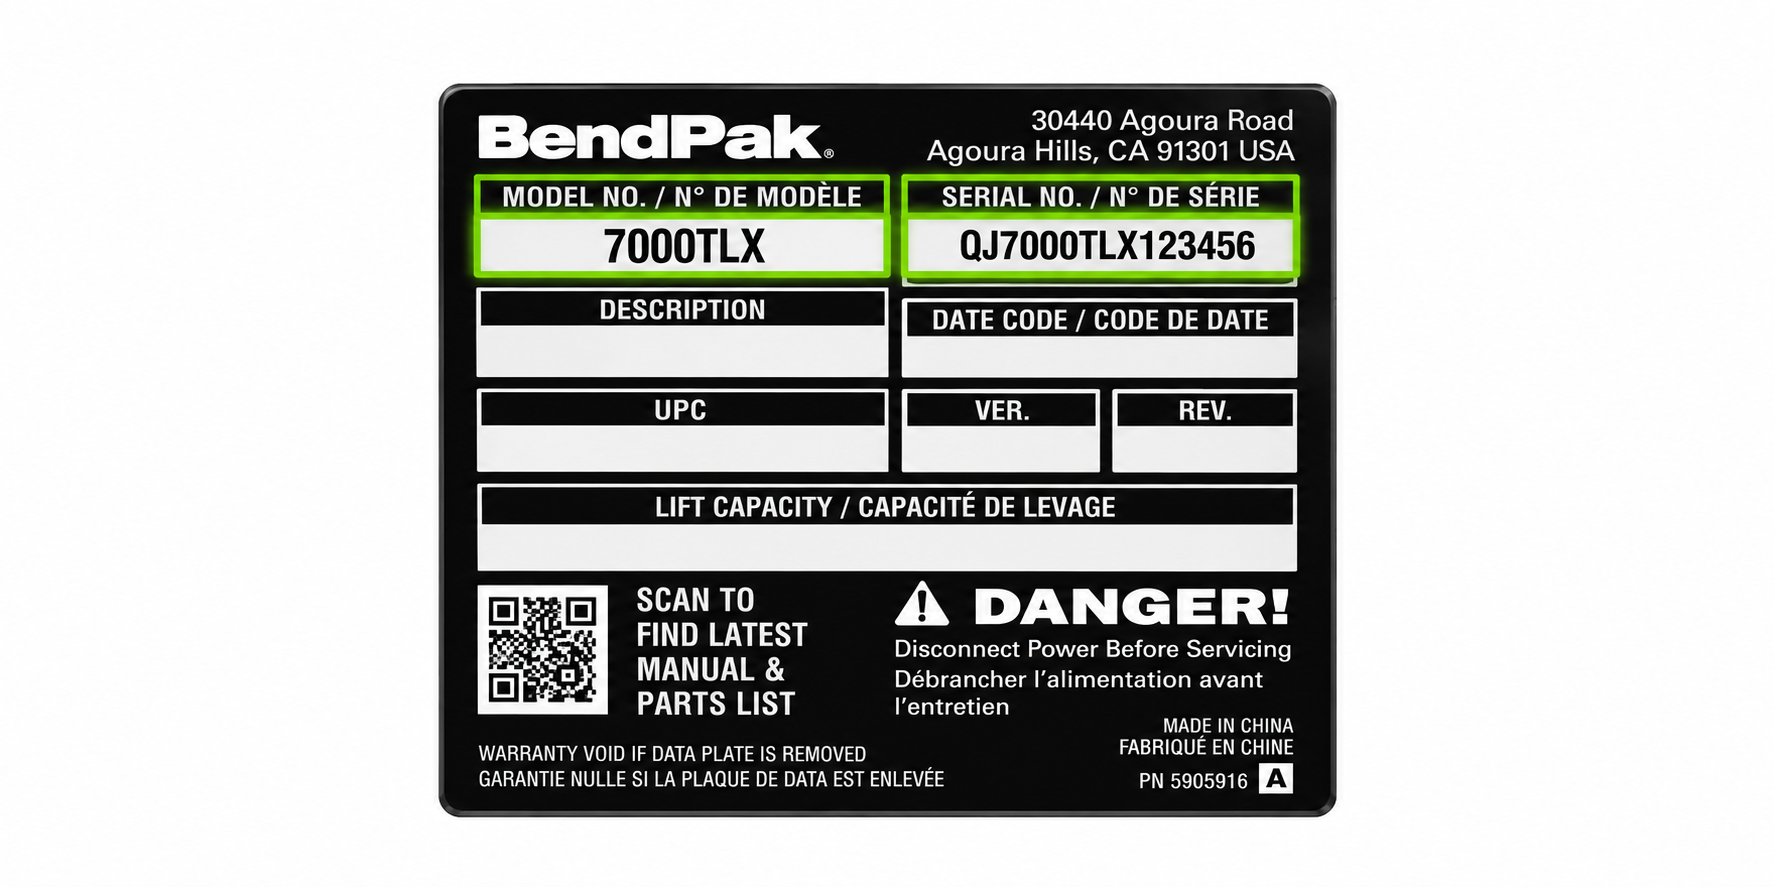
Record them somewhere easy to find. You'll want that information when ordering parts or requesting support.
The letters tell you something important. TL, TLX and ELX use progressively longer frames to reach lifting points that are farther apart. Match the frame to your vehicle's lift-point spread - not just its weight.
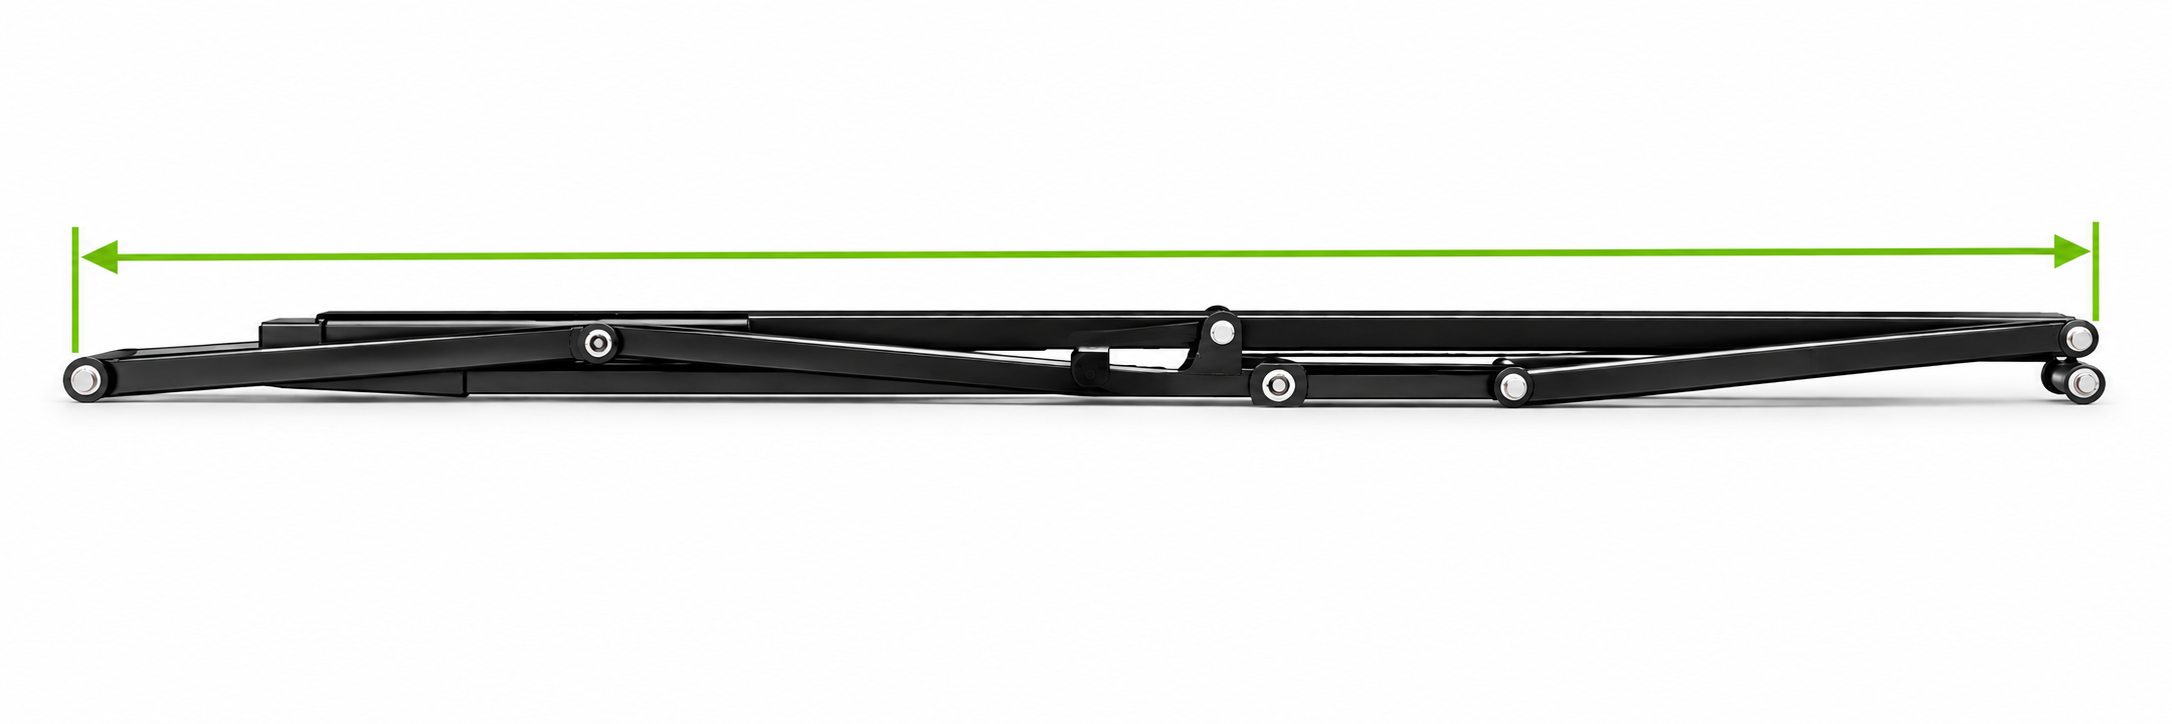
37"–60" lift-point spread on current 6000TL and 8000TL models.
43"–66" lift-point spread for vehicles with lifting points farther apart.
53"–76" lift-point spread for long-wheelbase vehicles and many EV applications.
*6000TL frame length is 70". 8000TL frame length is 70.75". Always compare your vehicle measurements with the specifications for the exact QuickJack model you're considering.
Once you've found the frame length that reaches your lift points, make sure the QuickJack model is rated to handle your vehicle's weight.
Always verify your vehicle's weight and follow the rated capacity and instructions for your specific QuickJack model.
Mechanical locking positions support the raised vehicle, while properly prepared air cylinders help your QuickJack operate as intended.
When you reach the desired locking position, raise the frame beyond the lock and then lower it until the frame is resting securely on the mechanical lock.
Follow the setup instructions for your QuickJack and maintain the specified air pressure in the air cylinders.
A handful of habits cover a lot of ground when setting up and using your QuickJack.
Position blocks or adapters at the locations specified by the vehicle manufacturer.
Verify vehicle weight before lifting and stay within your QuickJack's rated capacity.
Support the raised vehicle on the mechanical locking system before working underneath.
Route hydraulic lines away from vehicle tires, traffic and anything that could damage them.
Maintain a clear view of both sides while raising or lowering the vehicle.
Check frames, blocks, hoses, fittings and locks before each use.
Protect disconnected hydraulic fittings from dirt and debris during storage.
Account for the vehicle's horizontal movement as the frames rise and lower.
Keep your QuickJack model and serial number somewhere easy to find.
Weight, lift-point spread and ground clearance all matter when matching a vehicle to a lift.
There’s probably a Quick Tip for that. Browse the original QuickJack video library by topic - from setup and vehicle fit to lifting locations, care, comparisons and more.
Three common QuickJack questions and a useful starting point for new owners.
A quick tour of the resources available when you need more QuickJack information.
An important one-time setup mistake to avoid before putting your QuickJack to work.
How to handle the elbow fitting and leader hose correctly during initial setup.
A look at how a portable QuickJack setup differs from a traditional two-post lift.
See the practical differences between QuickJack and a floor-jack-and-stand workflow.
Learn what to consider when choosing a surface for your QuickJack.
What to check before using QuickJack on a driveway or another surface that may not be level.
Why vehicle make and model alone are not enough to determine QuickJack fit.
A quick way to think about ground clearance before choosing a lift.
What cold weather can mean for hydraulic operation and what to check if the frames are slow to rise.
Care considerations when QuickJack frames are exposed to water during use or cleaning.
Ideas for storing your frames when the job is done.
A look at the freight-delivery option covered in the original Quick Tips library.
An older Quick Tip explaining the previous SLX and EXT frame-length choices.
How to identify the vehicle-weight information that matters when selecting lift capacity.
See how portability can make QuickJack useful for track-day maintenance and adjustments.
An original Quick Tip covering situations where a vehicle may need to run while raised.
A closer look at moving, positioning and storing a portable QuickJack setup.
Dig into setup, maintenance, troubleshooting and accessories when you need more than a quick tip.
Maintenance, setup details and other useful information for current QuickJack owners.
→ HelpFind help with frames, blocks, operation and common setup questions.
→ AccessoriesExplore adapter kits, positioning handles, wall hangers, frame extensions and other QuickJack accessories.
→Compare frame lengths, capacities and vehicle fit before choosing your QuickJack.
Shop QuickJack →Find manuals, measuring information, troubleshooting resources and additional QuickJack support.
QuickJack Support →Helpful things to know before you buy, before your first lift and every time you roll QuickJack out for another project.
Good to Know
No deep dive. No 20-minute video. Just useful QuickJack knowledge for your garage.
Vehicle weight isn't the only measurement that matters. Check your lifting-point spread and ground clearance too.
Measuring GuidePosition your lift blocks directly beneath the lifting points recommended by your vehicle manufacturer.
QuickJack frames have an orientation. Position both frames so the lock bars are accessible on the outside.
Wipe the hydraulic quick-connect fittings clean and lubricate them before every use.
Keep tires away from hydraulic hoses, fittings, the power unit and the QuickJack frames.
Stand where you have a clear view of both frames whenever you're raising or lowering the vehicle.
Vehicles should be lifted using the appropriate QuickJack lift blocks — not directly on the bare frames.
QuickJack's lifting geometry creates some horizontal movement as the vehicle rises. Leave clearance around it.
QuickJack is designed to rise with vehicle weight on the frames. Don't run the frames to full height unloaded.
A raised vehicle should be supported on a mechanical locking position — not held up by hydraulic pressure alone.
Take a quick look at the frames, blocks, hoses, fittings and locks before each use.
Record them somewhere easy to find. You'll want that information when ordering parts or requesting support.
QuickJack SupportQuick Product Knowledge
QuickJack models differ in both lifting capacity and frame length. Bigger isn't automatically better — choose what fits the vehicles you actually plan to lift.
Rated capacity applies to the pair of frames. Never exceed the rated capacity of your QuickJack. Always confirm vehicle fit before purchasing.
Here's the Trick
The letters tell you something important. TL, TLX and ELX use progressively longer frames to reach lifting points that are farther apart.
One-Minute Garage Lesson
Position the frames parallel when possible, put the lock bars toward the outside and align the lift blocks with the vehicle's recommended lifting points.
Don't drive across the frames or hydraulic hoses, exceed the lift's rated capacity or improvise lifting points because they're more convenient.
Quick Tip
Once the vehicle is raised, lower the frames onto a mechanical locking position before working around or beneath the vehicle.
Raise the frames high enough for the lock bar to move beyond the locking position.
Lower the vehicle until both frames are securely resting in the locking position.
Owner Tip
During setup and when checking your QuickJack, the auxiliary pneumatic springs should be within their specified pressure range while the frames are fully lowered. Never exceed 50 PSI.
Rapid Fire
Quick Tip
Low-clearance vehicle? Pinch welds? Truck or SUV? Don't improvise. QuickJack offers purpose-built accessories for different vehicles and lifting situations.
Useful when standard blocks create too much overall starting height for a low-clearance vehicle.
Designed for vehicles whose manufacturer-recommended lifting points use pinch welds.
Add lifting height for compatible QuickJack models when servicing vehicles with higher lifting points.